
As I take a break from the return leg of my Grand Tour at Vihara Gate in Kashyapa, I figured I’d touch on some of the methods and decisions a player would need to make if they were going to do long distance travel in Elite: Dangerous. It all depends on why you’re going, and either way, there’s things you should be aware of before making the trip.
I can think of two basic reasons for going to Sagittarius A* or even Beagle Point:
- To say you’ve been there (or to get the trophy, or the sense of accomplishment)
- To explore – and more accurately, make loads of money while doing it
How exactly you outfit your ship may vary a little based on why you’re going. Honestly, I would recommend the same setup either way – something with a very long jump range, as well as:
- A couple of Auto Field Maintenance Units: These can repair all but one module: your Power Plant. They can even repair a non-blown canopy. They have no mass, so buying the biggest one won’t impact your jump range. Bring two in case they start to suffer damage – that way you can repair one with the other. With the right materials, you can even manufacture replacement ammo.
- A Fuel Scoop: Remember “KGBFOAM” and you’ll be okay. With a Fuel Scoop you can pull fuel from many stars. Just keep an eye on your fuel gauge and be ready to make a jump to a KGBFOAM star before you start to run dry. Again, they have no mass, so they don’t impact jump range.
- Repair Limpet Controller: Limpets are optional, as, with the right materials, you can make them in batches of four – but either way you should have a little cargo space. Your hull might take some damage somewhere along the line, and your AFMU won’t help you there – just fire one off without anything targeted and it should attempt to repair you. A 1D doesn’t weigh much, and that’s all you really need to repair yourself.
- Heat Sinks: You can also manufacture ammo for this. A properly fitted exploration ship should be able to handle heat fairly well, but you never know when you’re going to find yourself in a situation where you need a little more time to deal with whatever’s causing you to gain heat, so firing off a Heat Sink will give you that time and prevent damage.
- An SRV: You might want to land on a planet or moon for pictures, or to collect resources for module ammo/limpets.
As for your Core Internal modules, you should consider downsizing anything other than your Frame Shift Drive (which should be biggest A rated you can fit, and maybe engineered for range):
- The smallest A rated Power Plant you can fit and still run “most” of your gear: Play around with what you can get away with powering down (AFMUs eat a ton of power, so if they’re not actively repairing, they should be off, but you should be able to power at least one on at some point in order to do repairs when needed). A rated Power Plants will:
- Handle heat better than the D rated of the next size up
- Provide the same, if not more, power than the D rated of the next size up
- Be lighter than the D rated of the next size up
- The smallest A or D rated Power Distributor you can and still have a boost for –
- – your smallest D rated Thrusters you feel comfortable with. If you’re going to do a lot of planet landings, be aware of how gravity will impact the size of the thrusters you’re looking at using.
I have an example Coriolis link of my “Exploraconda” build; it includes a Fuel Limpet Controller and some engineering to extend my FSD range and lightweighting the sensors.
Oh, and since I’ve never explained it elsewhere: Within a given “size” (the number next to the module, the higher the bigger), the “class” (the letter, usually the lower the better, “A” being the “best”) usually means:
- E: The heaviest (when an item has mass) and poorest performer. May (but not always) perform better than the A rated of the next size down.
- D: The lightest, performs as well as if not better than E of the same size. When concerned about jump range, when you have no need for a better class and can’t go a size down, use D!
- C: Heavier than D, but will perform significantly better.
- B: The heaviest. Will perform better than C, but will also negatively impact jump range the most.
- A: The best performer, and, from what I’ve seen, always the same mass as the C class of the same size.
Again, these are generalities: some items don’t have mass at any class or size; a B rated FSD will always jump farther than a D or C rated FSD of the same size even with it having a much higher mass.
Either Way, The Elite: Dangerous Index Plotter Is Useful
Especially if you’re traveling farther than 20,000 Lightyears in a single hop. Technically, if you are going to Sagittarius A*, there’s a way to get there that I recommend that doesn’t involve going farther than 20,000 Lightyears; but if you’re traveling straight from the Bubble, the E:DIP can provide you a waypoint for feeding to the in-game Galaxy Map plotter.
You Need To Know How The Elite: Dangerous Index Plotter Works
As of version 2.4 of Elite: Dangerous, you can plot routes in the Galaxy Map using Neutron Boosting. Neutron Star Boosting will provide you four times the jump range for a single jump – in my 53+ LY jump range Anaconda, I’ve done jumps of 214 LY with a Neutron Boost. There are dangers, however:
- Neutron Stars are not to be trifled with. They can kill you quickly if you don’t respect their Exclusion Zone.
- You should always enter the cone facing away from the star itself. I’ve always entered fairly slowly (less than 10 Mm/s) and throttle up when the boost is full, actively trying to break out of the cone to avoid getting more than –
- You will lose at least 1% of your FSD Health for each boost fill. The only way to repair this in the field is with a Auto Field Maintenance Unit.
- Be sure to throttle to zero, get to minimum speed, and drop out of Supercruise before triggering the repair.
- Repair your FSD before that health percentage hits 80, or you’ll start suffering from malfunctions. I don’t know what’s involved with that but I don’t want to know.
- It will use considerable AFMU ammo to do the repair. The more AFMUs you fit, the better, and you can manufacture AFMU ammo en-route. AFMUs do use considerable power, so turning them off when not in use isn’t a bad idea.
However, there are some weaknesses in the algorithm used to calculate jumps – namely, it doesn’t like to take you too far off the beaten path, and seems to be more concerned with distance traveled rather than number of jumps. The E:DIP, on the other hand, does the following:
- Focuses on only Neutron Stars as a method of travel, attempting to get you to jump from neutron star to neutron star as a way of getting your farther, faster.
- One minor downside to this: during one trip, instead of doing a max jump from a star two hops out from my destination and then relying on a “normal” (and actually fairly short 11 LY) jump to finish off the trip, the E:DIP provided the plan of going from the neutron star I was at to another neutron star that was 75 LY out from my destination. In other words, in my opinion, the in game router for the last two hops was actually preferable.
- It will often take you … “a little out of your way” (never backwards or at an extreme angle away, but perhaps not the most “direct” route) in order to get you to a neutron star, which will (over long distances) reduce the number of jumps you have to take.
The results? A trip from Fuelum to Sagittarius A* goes from taking well over 500 jumps to 219 (ish). And if you added up the individual distances jumped, it could be a significantly longer distance in Lightyears (and the E:DIP will tell you this value if you look for it), but a significantly lower amount of jumps and time to do it.
There are weaknesses you should be aware of when using the E:DIP:
- It does not care about your fuel tank, and leaves it to you to be aware of when you might run out of fuel and take the necessary steps (in other words, divert from the suggested path) to avoid that.
- It only knows about Neutron Stars that have been discovered and exported to the database(s) it uses as a source(s) of information. In other words, if neutron star has not been visited by a PC player running extra software to extract that information out to a database, the E:DIP can’t use that star in its plotting. This also means:
- You won’t be the first person to discover that star.
- Any “valuable” discoveries in that system will likely have already been made. This isn’t a “bad” thing, but it does mean you won’t get a first find bonus for, say, a Terraformable Water World when you come across one.
- There’s a slim possibility that there’s a slightly more efficient route (same or possibly fewer) number of hops when looking at small scale (2-4 jumps in a sequence) if you take the time to check with the in-game plotter.
With these weaknesses in mind, you’ll find you might occasionally want to fudge the route a little bit.
So – Which Traveler Are You?
If you’re going to explore and make money, and can handle the long (possibly months) period of time between station visits and the brain-killing extreme amount of time you’ll spend traveling around potentially very large systems in Supercruise, you’ll want to use the E:DIP with an Efficiency % of 100 to plot routes of more than 20,000 LY, and then use the in-game Galaxy Map to plot your hops between the indicated waypoints.
Don’t Care As Much About The Discovery Money?
Then you should leave the Efficiency % at the default and follow the path, keeping in mind the issues I’ve already covered.
Going to Sagittarius A* or Beagle Point For The Bragging Rights
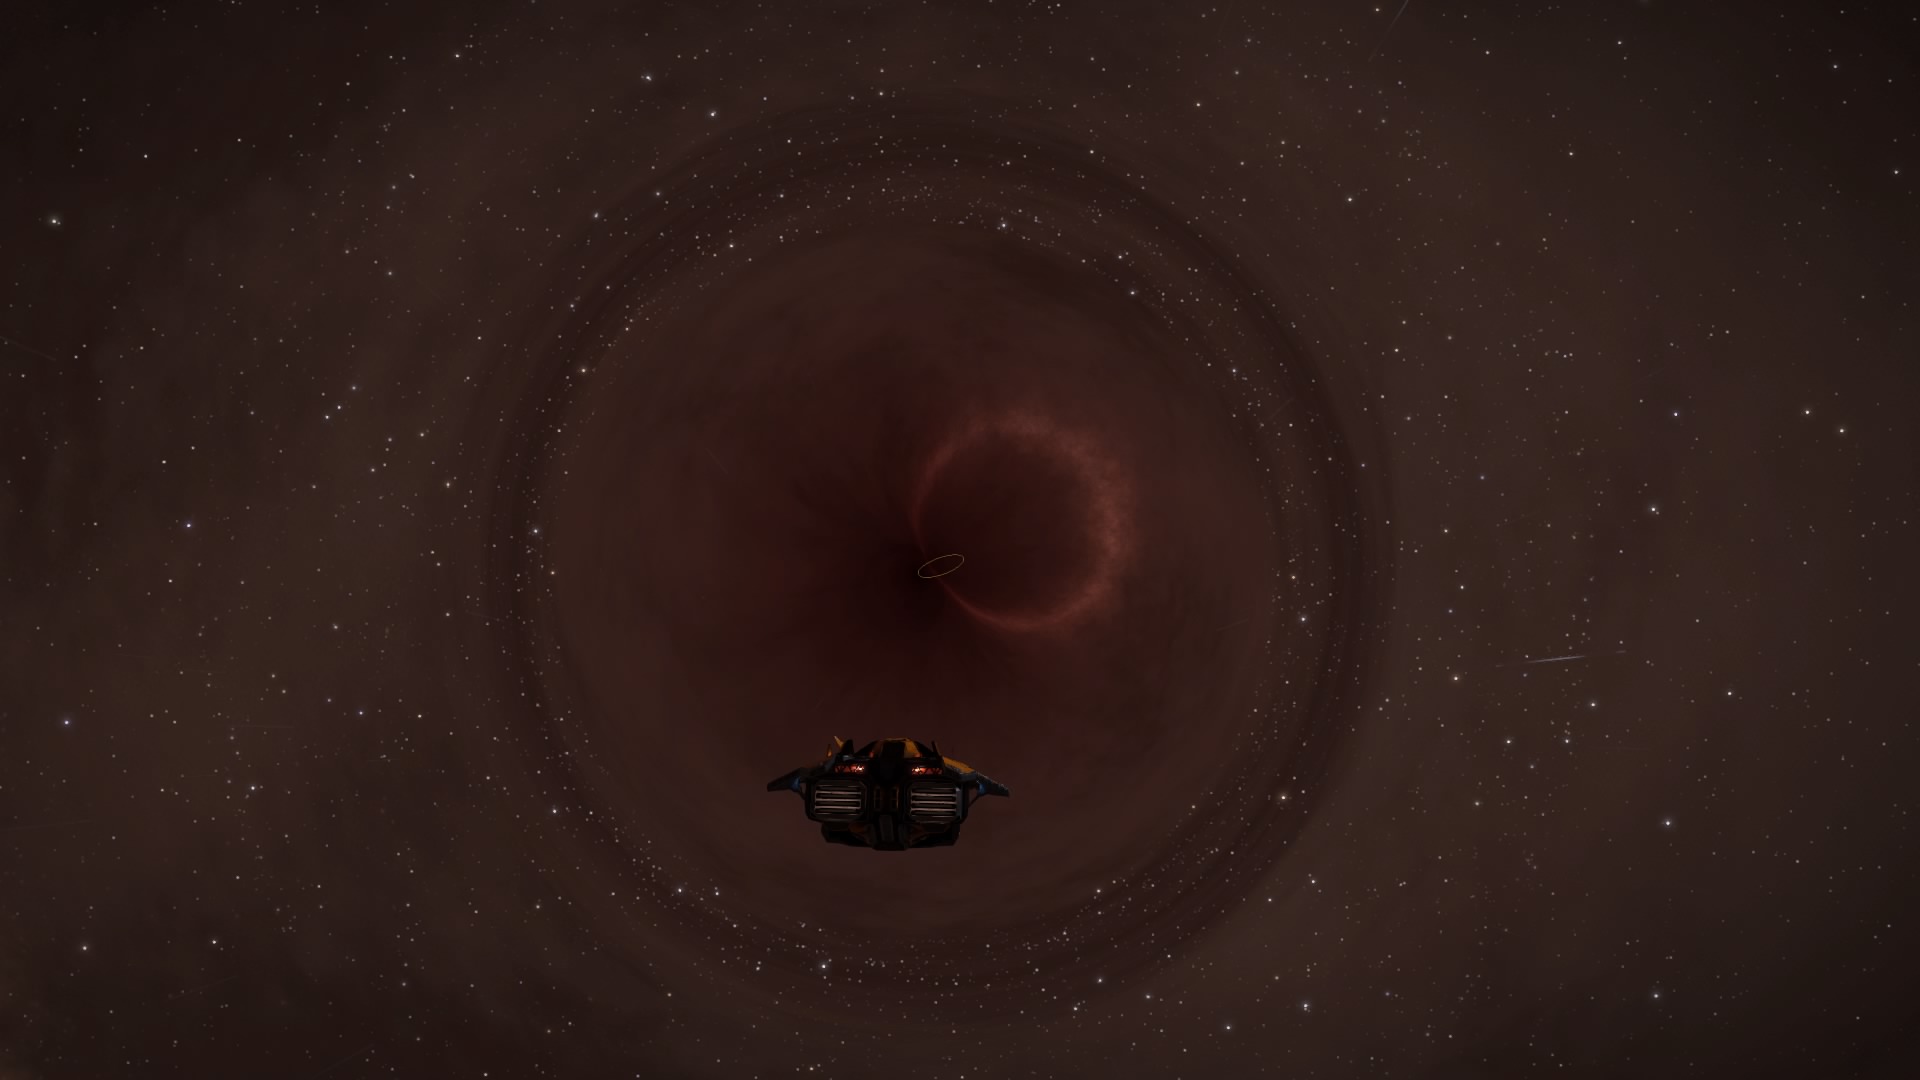
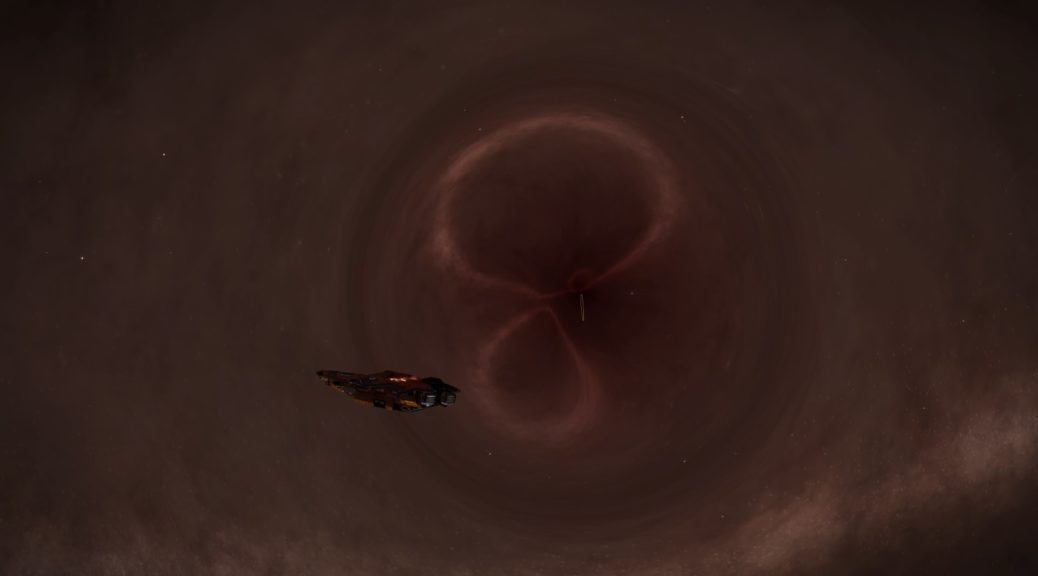
Let me just go on a brief tangent here – if you’re going to Sag A*, you should also check out Great Annihilator. It’s another Black Hole (actually, there’s two there, along with a few stars) about 2500 LY from Sag A*, and roughly between the Bubble and Sag A*. Given the distances we’re discussing, this is either “on the way” or a “short side trip”.
So if you are just going for the bragging rights, all your plotting should be done with the default (60%) Efficiency. The next decision, however, is exactly what route to take.
I was a bit foolish. Even after having the opportunity not to be. From Fuelum to Sagittarius A* is a straight 25,850 LY trip (Beagle Point, by the way, is 65,230 LY from Fuelum). And the truly silly part of this is that, once I learned about Colonia and the stations between Colonia and the Bubble, I used eddb.io to plot out their locations and plan the return trip from Sag A* through Colonia and then the stations in question. Colonia is 21,976 LY from Fuelum, but with a few stations in between, it’s not that bad of a trip. And on the way out to Sag A*, one of those stations (Attenborough’s Watch in Lagoon Sector FW-W d1-122) wasn’t actually too far (like, two hops) off the path I was taking to Sag A*. So I stopped there on the way out.
I didn’t get the clue yet …

It didn’t occur to me until I was practically past half way there that Colonia is “only” 11,367 from Sagittarius A*. Instead of spending more than the 32,000 LY I spent between station visits, I strongly recommend (especially if you’re going just to say you went) that you go to Colonia first, then dart out from there to Sagittarius A*, and then back (with possibly a short side trip to Great Annihilator).
And Beagle Point? 46,241 from Colonia (be aware that the distance to Beagle Point is not the only notable barrier to getting there – it’s on the other side of a region of space known as The Abyss).
Station visits are important:
- You get the opportunity to sell valuable cartographic data (I made 40,000,000 with mostly minimal effort in my trip from Attenborough’s Watch to Colonia by way of Sag A* and Great Annihilator). You lose that data if you get destroyed.
- If you get destroyed, it’s where you’re rebuy will spawn you. You’re less likely to reattempt certain portions of the trip if you don’t have as much to travel, depending on the route you took.
- It’s the only place you can repair your ship’s “Integrity” (look at “Advanced Maintenance” while at a station – some of the smaller ones may not have that option). “Integrity” is kind of the “age” rating of your ship; if it’s been a while since you’ve replaced the stressed portions of your bulkheads, they may continue to work perfectly fine, but might not protect you as well if you start bumping into things or getting shot at.
So, going to Colonia first will save you at least 10,000 LY (possibly more) between station visits.
Also, a station is the only place you can repair paint damage:
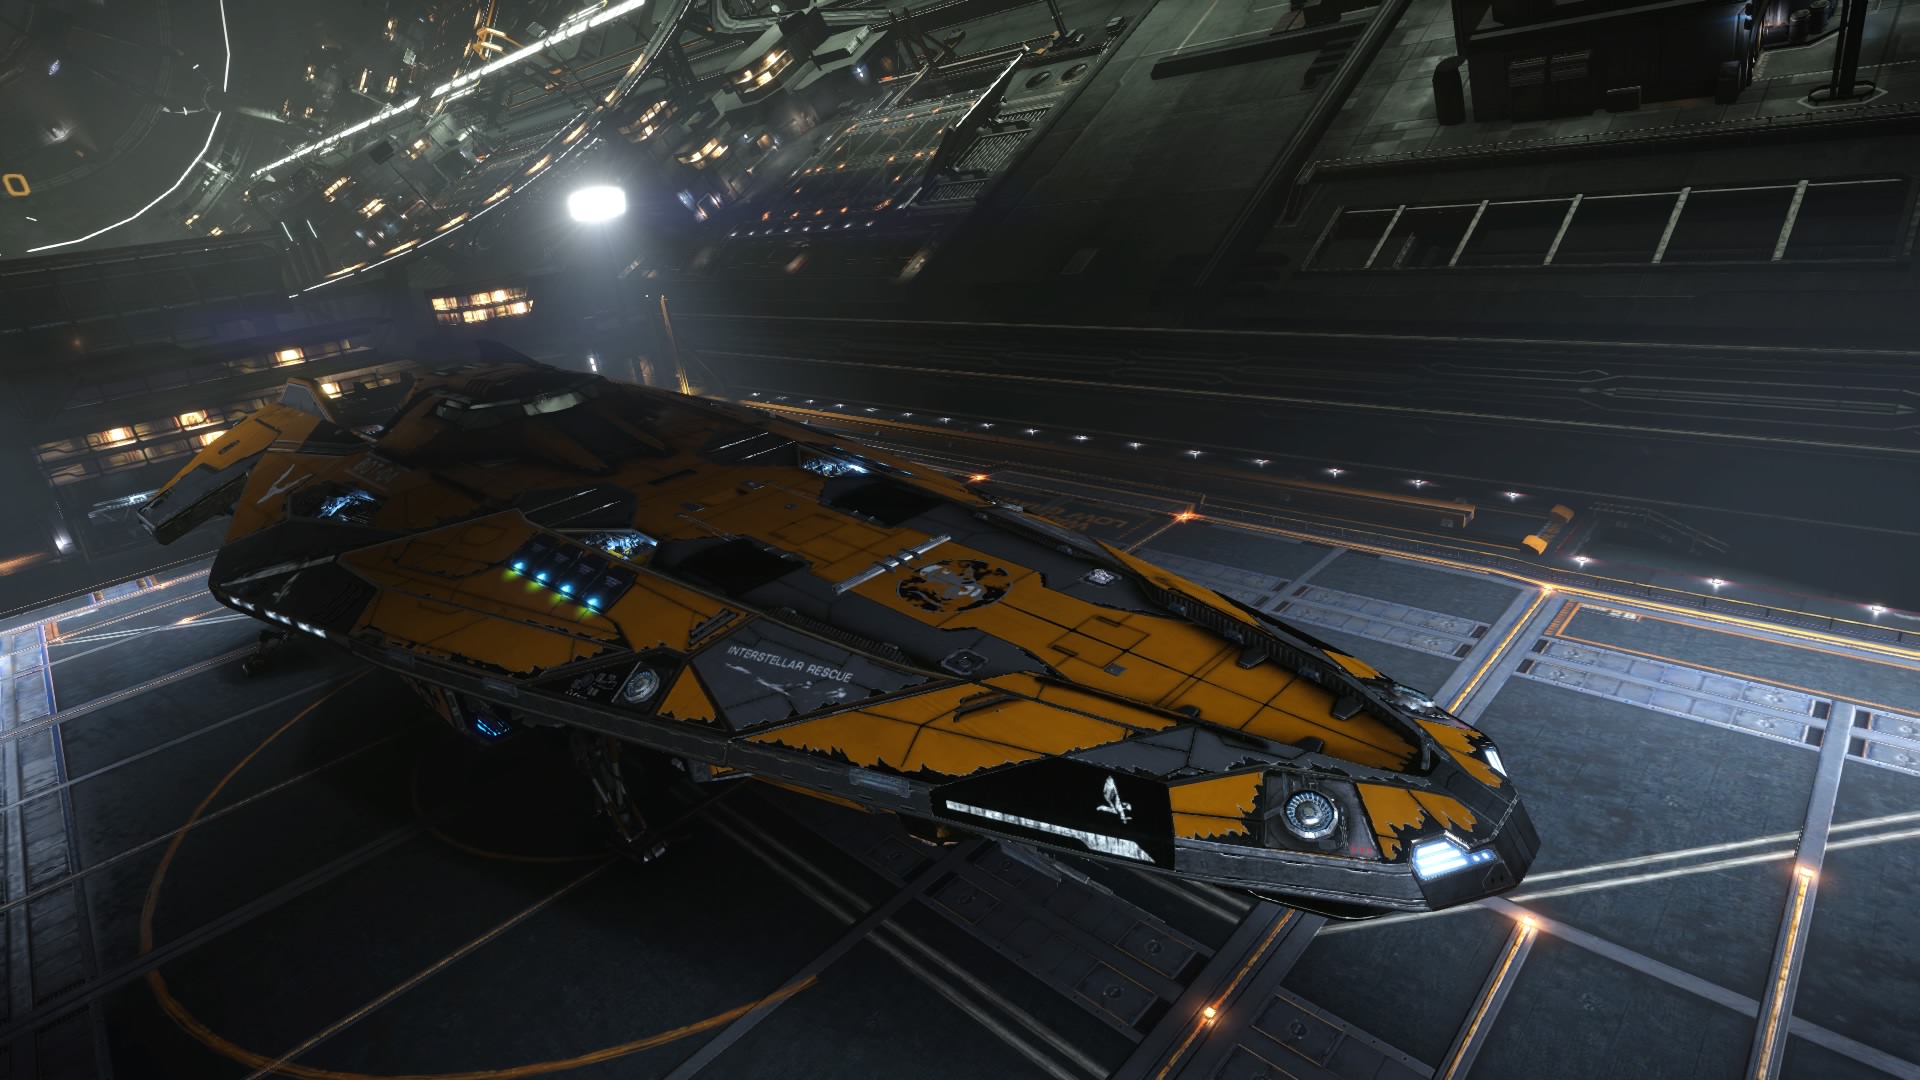
Honestly though … I’m keeping it! The worn out paint looks neat!